PhotoCoaching: Back Corners – Forehand
I created a series of videos called “PhotoCoaching”, where I use photographs of professional or very advanced players and use them to explain technique for club players.
In this article, we will look at getting the ball out of the forehand corner using the correct squash technique.Here are two photographs of a player using the correct forehand technique to get the ball out of the forehand back corner. There is a Silent Squash video at the end of the article if you prefer to watch. There is also a backhand article for you to view. There is a Silent Squash video at the end of the article if you prefer to watch.
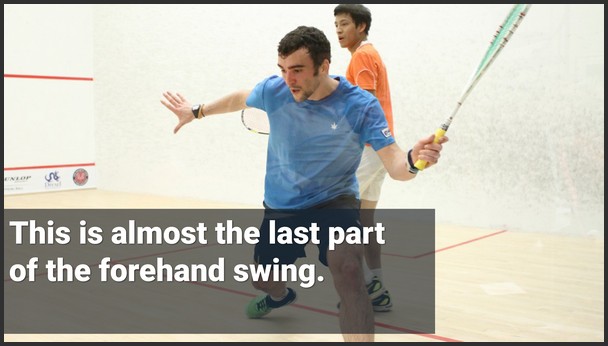
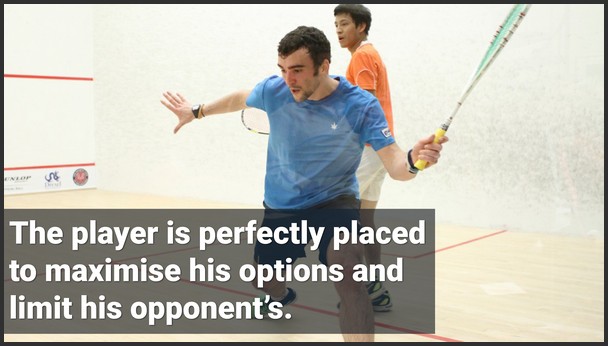
Photograph 1
Now let’s look at the forehand. This player is left-handed, but that is not important for this demonstration. This is almost the last part of the swing.
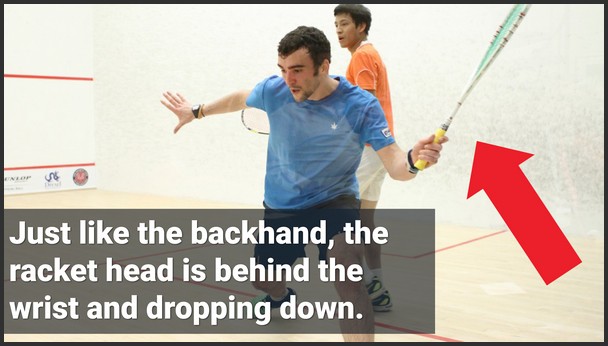
Just like the backhand, the racket head is behind the wrist and dropping down low.It will get parallel or almost parallel to the floor.
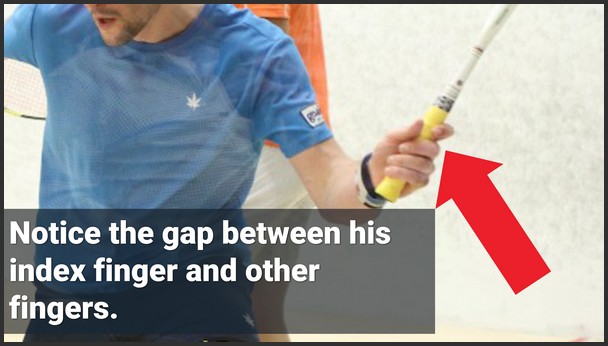
Notice the gap between his index finger and his other fingers. I discussed this in both my grip videos: The Grip↗ (18 minutes) and How to Hold and Grip a Squash Racket Squash For Beginners [009]↗ (7 minutes)
Just like the first photo from yesterday’s Backhand article, this player is stretching to reach the ball, therefore his non-racket hand is out-stretched to provide balance.
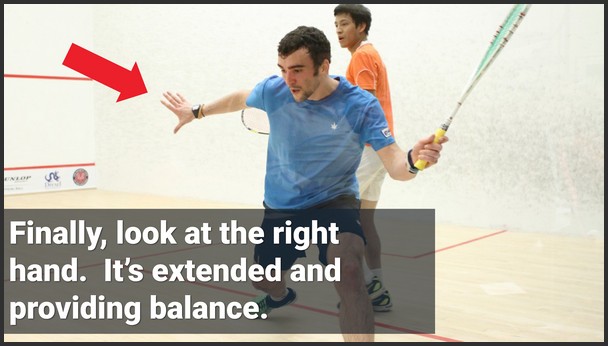
This player seems perfectly placed to maximize his options and limit his opponent’s options.
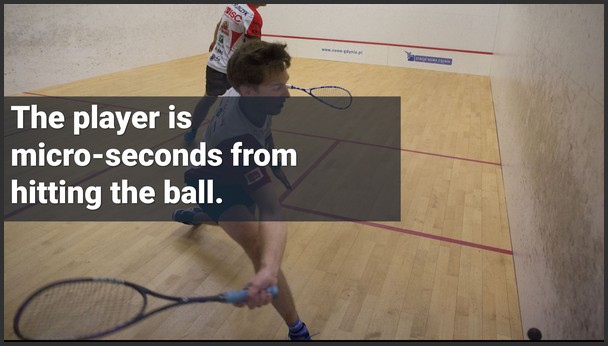
Photograph 2
This photo is slightly later in the swing. The player is micro-seconds away from hitting the ball.
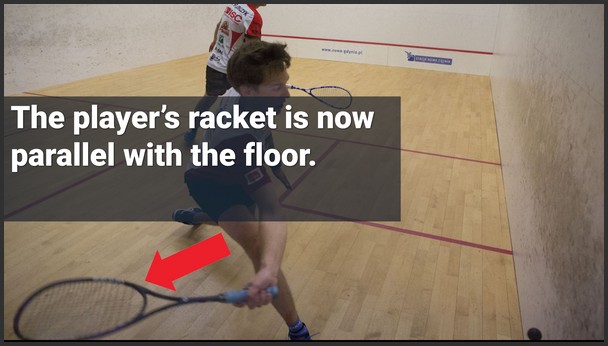
The player’s racket is now parallel with the floor – just like in the backhand.
His racket face is open, in fact it is facing the ceiling.
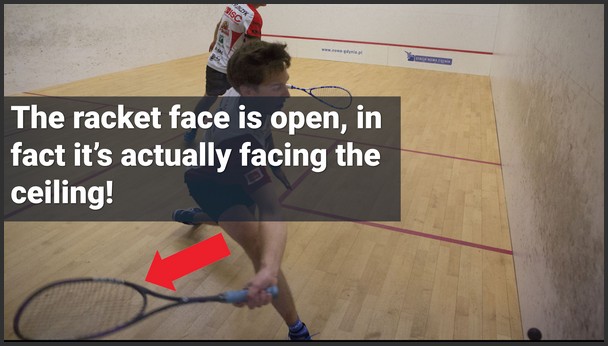
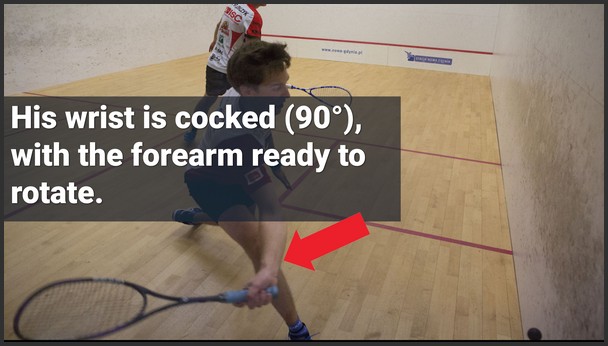
His wrist is cocked, almost 90 degrees to his forearm and is ready to rotate the racket head towards the ball.
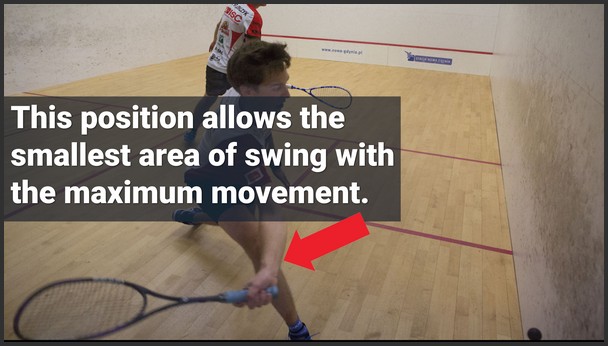
This position allows the smallest area of swing with the maximum amount of movement.
Forehand Summary
Get you racket head behind your wrist Rotate you forearm.
Do NOT “flick” your wrist.
